A perennial herb, sage has a savory, slightly peppery flavor. It is liberally used in a variety of European cuisines – Italian, Balkan and British– as well as Middle Eastern and American dishes. It is commonly used for seasoning and stuffing poultry and flavoring pork, sausage, the wild game as well as vegetables.
Sage is an excellent source of vitamins K and A. Also, the flavonoids present in it provide antioxidant and anti-inflammatory benefits.
Besides its nutritional quotient, sage holds an important place in folk medicine. Due to its antimicrobial properties, the herb has been used to treat mouth and throat infections as well as to heal wounds. It was also used by midwives to regulate menstruation, ease menopause and help with delivery pain.
Many people would love a fresh and steady supply of sage year-round. You can easily have it by growing sage in a pot.
You can pick a few leaves at a time or cut an entire stem if needed. Also, you can harvest batches of sage to dry and store for future use.
Originating from the Mediterranean basin, sage is now grown around the world. Although it needs a soil rich in clay loam with a sufficient supply of nitrogen, it can withstand a wide range of soil conditions, given that it is well-draining and nitrogen-rich. The pH level of the soil should be between 6.5 and 7.
While the aroma and flavor of sage make it a favorite among cooks, the velvety, evergreen foliage and delicate blue and purple flowers make it a gardener’s choice as well.
Contents
- Steps to Grow Sage in a Pot
- Step 1. Fill a small planter with compost
- Step 2. Put the seeds in the soil
- Step 3. Water the soil and keep in a sunny spot
- Step 4. Monitor the development of the seeds
- Step 5. Ready the soil for transplanting
- Step 6. Put some stones in the pot
- Step 7. Fill the pot with soil
- Step 8. Extract the seedling from the planter
- Step 9. Gently plant the seedling in the pot
- Step 10. Water the soil
- Step 11. Monitor the growth
- Step 12. Prune or harvest accordingly
- Tips for growing sage in a pot
Steps to Grow Sage in a Pot
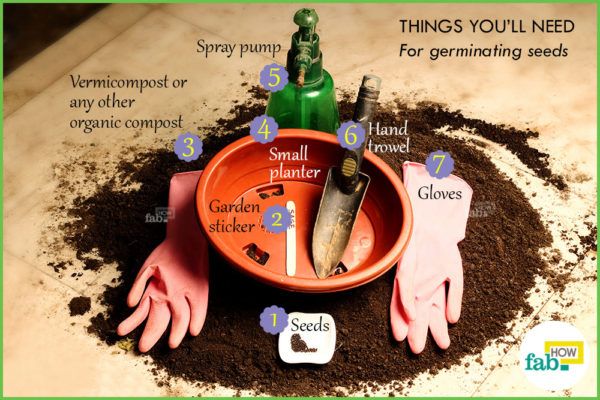
Things you’ll need:
For germinating seeds
- Vermicompost or any other organic compost
- Small planter
- Gloves
- Garden pressure spray pump
- Hand Trowel
- Seeds
- Garden sticker to label the plant
For transplanting
- Fertile soil
- Vermicompost or any other organic compost
- A pot and a few pebbles
- Gloves
- Garden pressure spray pump
- A wooden stick
Step 1. Fill a small planter with compost
The germination process is easier than taking care of a live plant, provided that you observe the rules for the soil, watering, and sun-exposure required by the particular seeds.
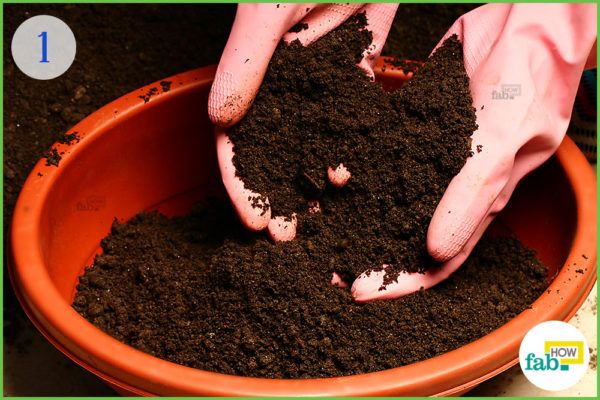
Choose a small planter with holes in the bottom to ensure proper drainage. Fill it up with vermicompost or any other organic compost. Loosen up the compost thoroughly with your hands to ensure proper air circulation.
Step 2. Put the seeds in the soil
Sage seeds are small, dark and almost spherical. You can readily obtain them from any gardening store.
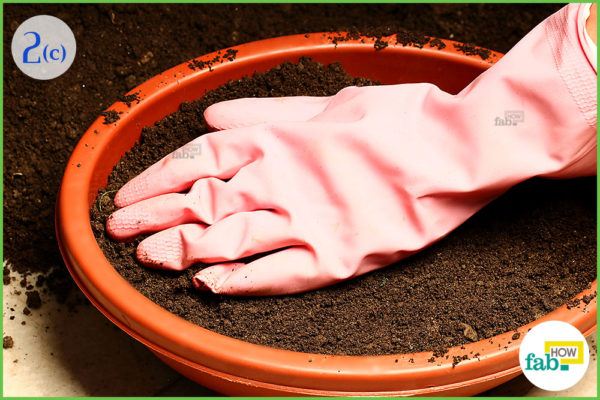
Spread the seeds over the surface of the compost. Top it off with a layer of compost.
Step 3. Water the soil and keep in a sunny spot
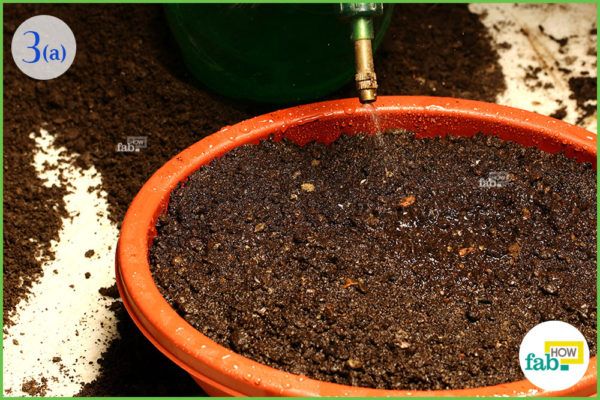
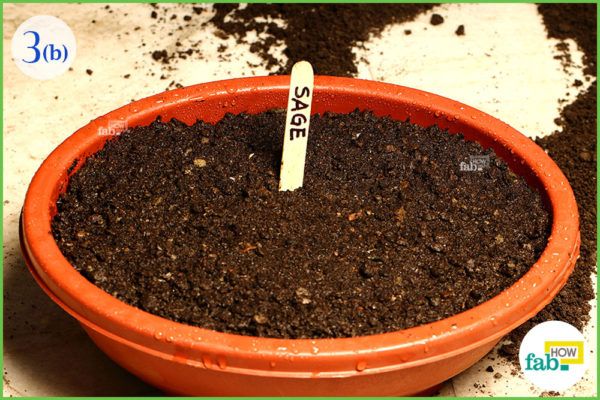
Water the prepared germination pot sparingly. It is best to water seeds and seedlings with a fine spray or mist. The aim is to keep the soil moist not sodden.
Keep the planter in a sunny spot. Sage requires abundant sunlight during germination and early stages of growth. Do not forget to label the planter if you are growing more than one type of plant, as you might confuse them.
Step 4. Monitor the development of the seeds
Sage has a reputation for delayed germination, so you’ll need to be patient. Depending on various conditions, it may even take up to 3 weeks to germinate. In this example, the germination process occurred within a week.
About 1 month after the germination, the seedlings will be ready for transplanting. During this month, water the pot regularly, but only enough to keep the soil moist.
Step 5. Ready the soil for transplanting
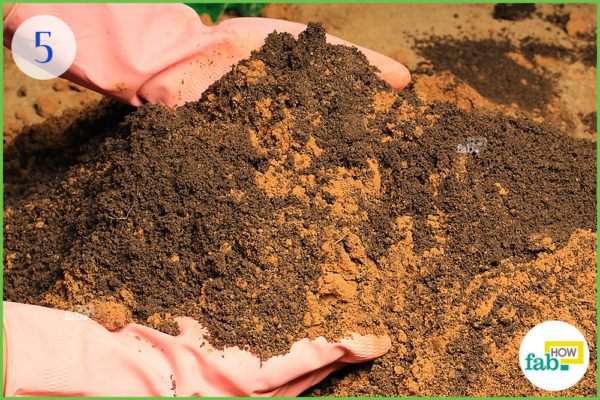
Before you transplant the seedlings, prepare the soil for the herb. Combine soil and compost in a ratio of about 2:3. Work the soil loose to promote good air circulation that is preferred by sage.
Step 6. Put some stones in the pot
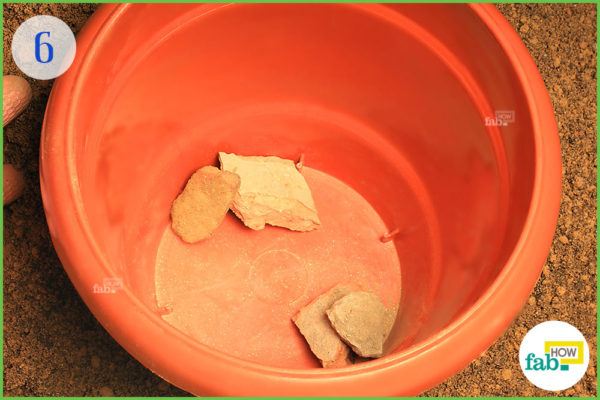
Use a small pot for sage. Line the bottom with some stones to ensure proper drainage and assist with air circulation.
Step 7. Fill the pot with soil
Fill the pot with the prepared soil. Do not pack the soil tightly in the pot. Keep it loose and airy.
Ensure that the soil has a suitable pH level for sage, which is 6.5 to 7.
Step 8. Extract the seedling from the planter
Ensure proper care while extracting the seedling from the planter. Pulling can damage the roots.
Instead, use a wooden stick to dig up the soil a little and work the roots loose, then lifting the seedling from the soil.
Step 9. Gently plant the seedling in the pot
Make a little hole in the soil in the other pot and place the seedling gently in the furrow. Cover the roots with the soil and press the area around the stem lightly. Ensure that the plant is standing upright.
Step 10. Water the soil
Water the soil lightly. Avoid wetting the stem and leaves of the plant. Mark the pot with a label.
Step 11. Monitor the growth
Water the plant daily and provide plenty of sunshine for good growth. Sage requires 3 to 4 months to fully mature and prefers a hot, dry atmosphere. Bring the plant indoors during the frost season.
Step 12. Prune or harvest accordingly
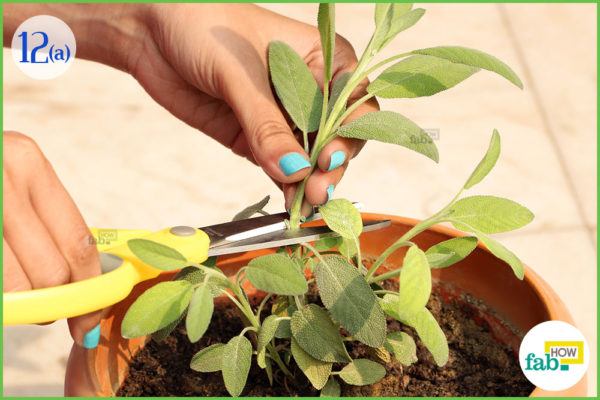
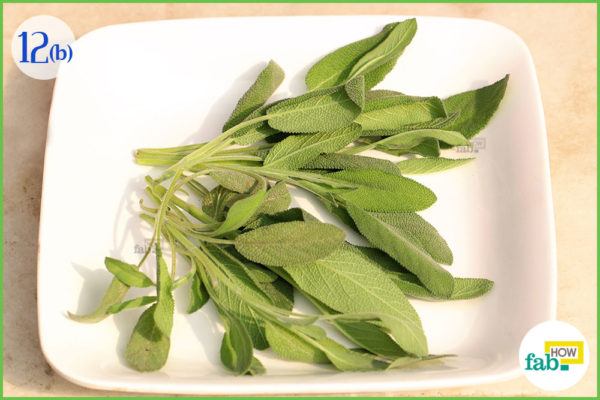
When the plant has matured, consider it suitable for harvesting or pruning. Cut the stem just above a pair of leaves to ensure further growth. Keep the harvest frugal the first year, as new plants are unable to withstand bulk harvesting.
Pruning should be done early in the spring every year. Remove most of the woody branches to promote new growth as they block the air circulation in the foliage.
Tie small bundles of cuttings together and hang them upside down in the shade to dry. Sage is not dried in the sun.
Tips for growing sage in a pot
- Sage prefers a hot and dry climate, although it will tolerate shade in hot climates.
- If planted in the ground outdoors, protect your sage from frost by removing the foliage completely and placing a thick layer of mulch around the stem to protect the roots from freezing.
- Even with pruning the branches every spring, sage can become too wooded and crowded. It is ideal to replace the old plant with a new one every 3 to 5 years.
- You can create a new plant easily by layering. Bend a low branch to the ground and cover it with soil. Hold the branch in place with a hairpin. Once roots appear, you can transfer the sapling to a different pot or place in your garden.
- Sage is a hardy shrub that requires little maintenance when mature. In the rare occurrence of pests, resist using chemical pesticides if you’re going to consume the leaves.


