A screenshot is probably the best way to communicate the bugs or glitches that one sometimes faces while using an application or software. Screenshots aid the user in conveying the specific problem or error message to tech support people.
Moreover, what better way is there to win an argument in social media than to post a screenshot of a person’s statement so that he or she cannot deny ever having said something?
Since, Windows is the most commonly used operating system in the world, it is imperative that one must know to take a screenshot in Microsoft Windows.
There are many ways to capture Windows screenshot in a PC or laptop. Here is a comprehensive DIY guide.
- Method 1: Taking a Screenshot of the Entire Screen
- Method 2: Taking a Screenshot of an Active Window
- Method 3: Using a Default Snipping Tool
- Method 4: Using Freeware
Contents
Method 1: Taking a Screenshot of the Entire Screen
You can take the screenshot of entire screen and save the image in your computer using this method. The users of Windows 8 and above have a special way to do it quite easily, which is discussed below.
Step 1. Locate the print screen key
![]()
There is a Print Screen key on your PC’s keyboard. It is often labeled as “prt sc”, “prt scn”, “prnt scrn”, ”print scr”, or “print scrn” and is located between the F12 and Scroll Lock keys.
On laptops, the position may vary from brand to brand. However, you will usually find it nearthe F12 key. Sometimes it is accessible using the Function (“fn”) key on the laptop.
Step 2. Press the print screen key


Press the Print Screen key and Windows will capture your entire screen instantaneously. There will be no intimation of the screenshot being taken.
An alternate method for Windows 8+

If you are a Windows 8(or above) user, you can fast forward the entire procedure by pressing the "Windows logo + Print Scrn” keys. There will be a momentary dimness in the brightness indicating that the screenshot has been taken.

It is automatically saved inside a Screenshots folder, which you can find inside the Pictures folder. You can further avoid the rest of the steps mentioned below.
Step 3. Open the Paint application

For Windows 8+ users, press the Windows logo key and type “Paint” in the search field. The Windows search results will display the Paint icon and title. Click on it to open the application.
For Windows 7 and below, press the Windows logo key or click on the Windows icon in the bottom left corner of your screen. Click on All Programs and find Accessories, inside which you will find Paint listed.
Step 4. Paste the screenshot into Paint


Open Paint and press “Ctrl+V” or select the “Paste” option on the top left side of the Paint window. Another option is to click on “Edit”, which is second from the left, and click “Paste”.
The screenshot is pasted on the canvas.
Step 5. Save or use the screenshot

You can save the image by pressing “Ctrl+S”, by clicking on the blue “Save” icon on the top left corner or clicking on “File” and “Save”.

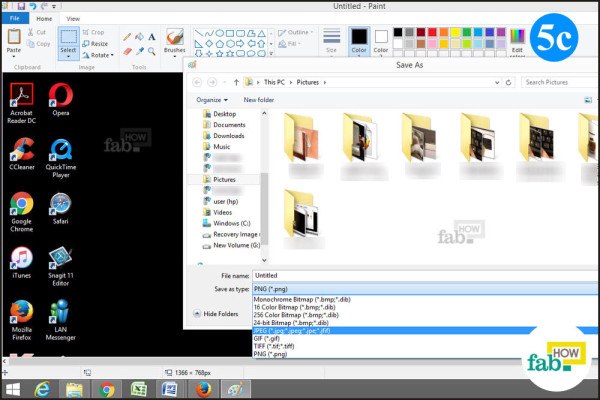

A “Save” dialog box will open. Save the picture in the desired location like the “My Pictures” folder. It is highly recommended that you save it in the JPEG format, which is ideal for storing high-quality images in a small size. If the screenshot consists mainly of a white background with text, store it in the PNG format.

Alternatively, you can directly copy the screenshot into other applications like MS Word or an email, etc.
Method 2: Taking a Screenshot of an Active Window
This method is helpful when you want to take a screenshot of only a single window among many windows that are open on your computer. You can simply select that window and put it in the forefront. You will have the screenshot of what you require.
Step 1. Put the desired window in the forefront

If you have multiple windows open on your system, click on the taskbar and select the desired window.


Alternatively, you can press the “Alt + tab” keys to put the desired window in the forefront.
Step 2. Press Alt + Print Screen

To take the screenshot of a window that is in the forefront, press the "Alt+Prnt Scrn" keys. Some laptop users may have to press the "fn+Alt+Prnt Scrn" keys. There will be no intimation of the screenshot being taken.
Now the image is ready to be copied into different platforms. Please note that the image size is determined by the dimensions of the active window.
Step 3. Save or use the image directly


Following the appropriate steps in Method 1, you can save your image in the desired format in Paint.

Alternatively, you can directly paste it into applications that support images like MS Word or an email.
Method 3: Using a Default Snipping Tool
From Windows Vista to Windows 10, a default snipping tool is present except for starter and basic versions. Windows XP does not have a snipping tool.
Step 1. Find and open the snipping tool

For Windows 8+ users, press the Windows logo key and type “snipping tool” in the search field. The search results will show you the Snipping Tool. Click on it to open the application.
Windows Vista and 7 users can access the snipping tool via the Start menu, then clicking on All Programs, Accessories, and Snipping Tool.
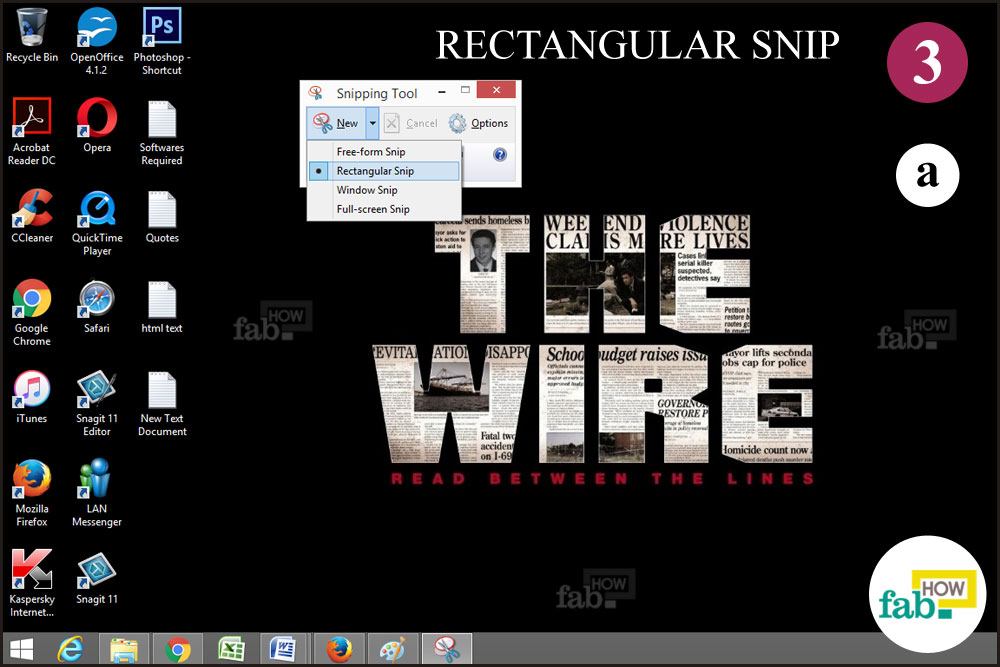
Step 2. Select the type or shape of the snip

There is a "New" button in the snipping tools that has a drop-down arrow beside it. From clicking on that arrow, you can choose the shape of the snip. By default, "Rectangular Snip" is selected.

- Using the "Free-form Snip" option, you can draw any shape from your mouse and the area lying within would be snipped.
- Using the "Rectangular Snip" option, you can snip a rectangular area of your choice.
- Using the "Window Snip" option, you can select a window to snip.
- Using the "Full-screen Snip" option, you can capture the entire Windows screenshot excluding the snipping tool window.
Step 3. Create a new snip
After selecting the type of snip you want, click on "New" to create a new snip.
Free-form Snip

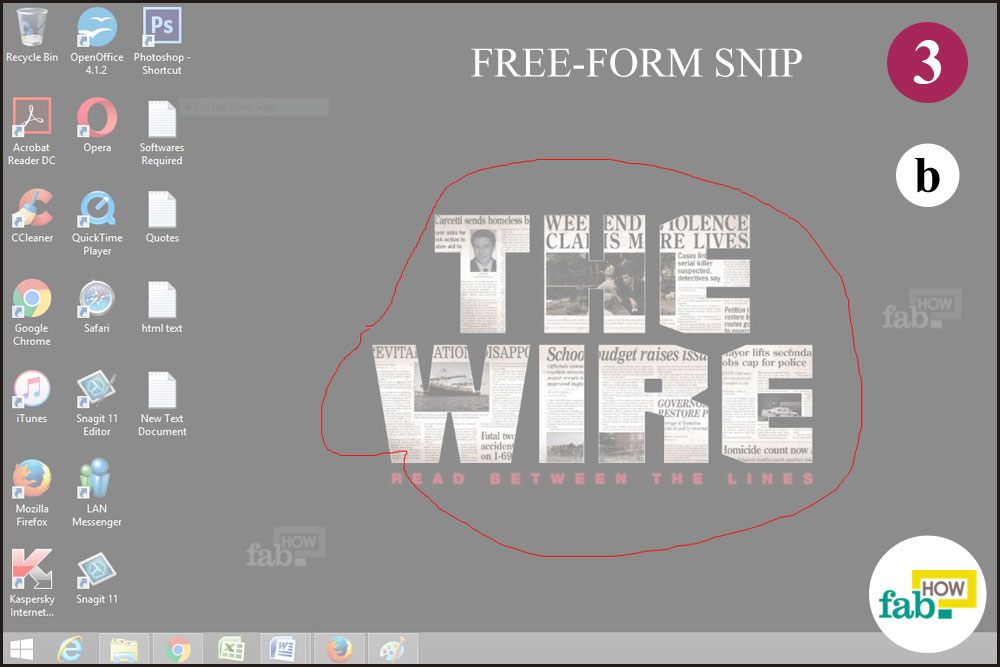

Using this option, the background screen will fade and a pair of scissors will appear. Click and hold the mouse to select the shape of your choice. When you have made the desired selection, release the mouse button. The screenshot will be taken of the screen within the shape you made.
Rectangular Snip
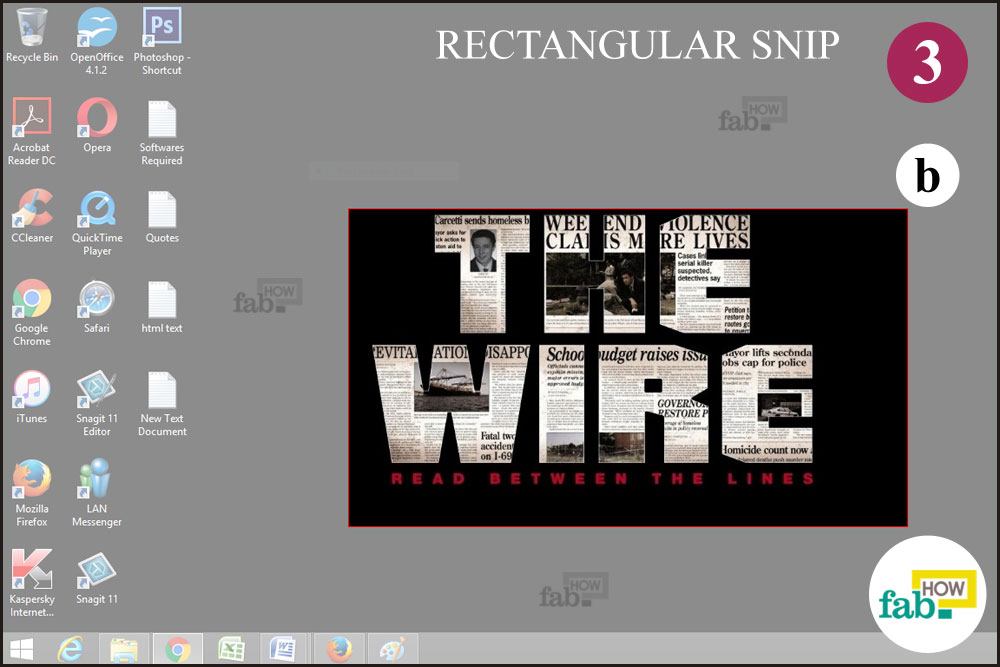

Again, the background screen will fade. Click and drag the mouse to select the area of your choice. Release the mouse button after making the desired selection. The snapshot will be taken.
Window Snip


With this option, the cursor will turn into a hand icon as soon as you click the “New” button. Take the hand icon to the desired window and left-click the mouse button. The screenshot of that window will be taken.
Full-screen Snip


This option will take a screenshot as soon as you click on "Full-screen Snip".
Step 4. Edit the screenshot

After snipping, the screenshot opens in an editor window where you can easily add annotations or highlight a part using the "Pen" and "Highlighter" tools, respectively. An "Eraser" tool can erase the effect of the “Pen” or “Highlighter” but not the screenshot.
Step 5. Save or use the screenshot


To save the screenshot, click on the "Save" button. Windows 7 and above saves the screenshot in PNG format by default. Windows Vista saves it in JPEG format by default.

The screenshot is copied to the clipboard as soon as it is created. You can paste it into applications like MS Word or Paint for more editing.
Method 4: Using Freeware
Many freewares are available on the Internet for the purpose of taking a screenshot. These freewares are a perfect fit for Windows XP users. In fact, they come with additional features for editing or capturing the screenshot, so they are ideal for other Windows users as well.
MW Snap is one such freeware that can be downloaded and used directly. It can take a shot of an entire screen, a particular window, a menu, a control or a given part of the screen. It works similarly to the default snipping tool in Windows. Despite its bland user interface, it is a popular choice among users because of its easy functionality.
Free version of Snagit by TechSmith is the recommended for trial if your screenshot needs are hardcore and you are willing to spend some money.
Additional Tips:
- In Windows 10, Snipping tool has introduced a delayimg method to capture your windows screenshot for a more customized result.
- Sangit is a wonderful piece of software for taking highly customized screenshots including/ excluding mouse cursor. Its comprehensive editor allows you to further edit the screenshot in a meaningful way. But, it is not free.
- Use PNG format to save those screenshots that include a majority portion of written text. Screenshots where text is not the primary focus, save those in JPEG format.