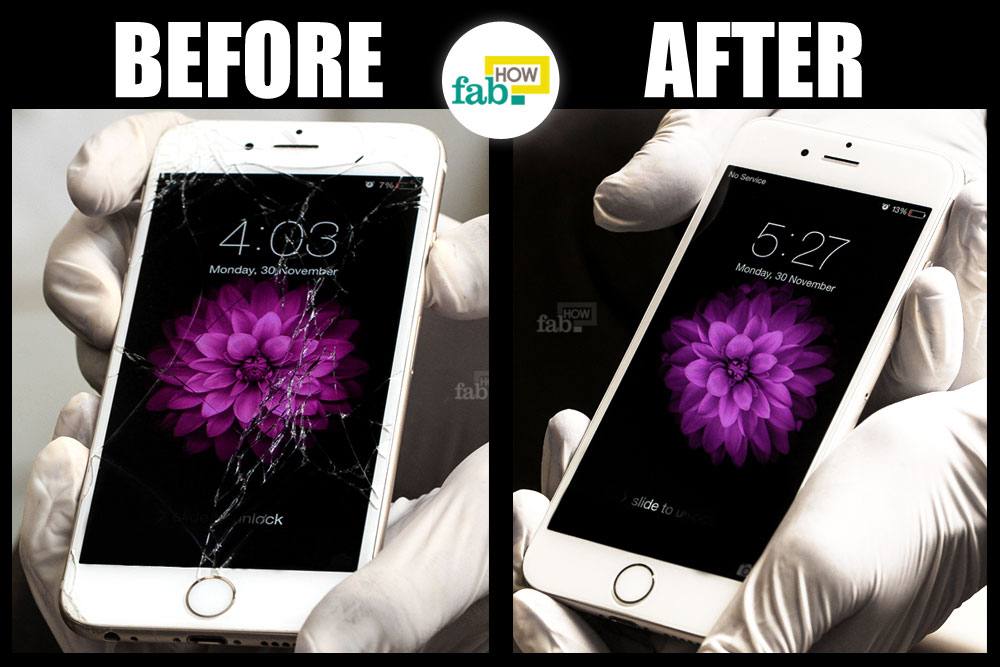
It feels like a part of you just died when you look at your shattered iPhone screen.

Cracked screens are a problem of the smartphone era, post the downfall of Nokia. It was one brand that defied the conventional norms of durability and produced handsets that were synonymous in robustness with the fictional One Ring of Sauron in Lord of the Rings. Just being nostalgic, nothing to do with the problem at hand.
As much as the technology has advanced and the equipment became sophisticated, the fragility of smartphones increased. Broken screens are a common problem with not-so-economical solutions. The cost to replace a broken iPhone 6 screen could hurt you as much as it hurt after you just bought the iPhone 5S and Tim Cook released the iPhone 6.
Contents
Apple Repair
A possible solution for this problem is the Apple Care+ plan. Apple Care+ is a warranty extension plan that you can buy to cover such problems after the manufacturer’s warranty ends. Apple Care+ covers two accidental damage cases with a service fee of only $79 and $99 for the iPhone 6 and 6S, respectively. If you have a basic Apple Care plan (different from Apple Care+) or your device is still under warranty, the price for screen replacement is $109 and $129 for the iPhone 6 and 6s, respectively.
It is a small price to pay without fearing any kind of product sabotage. The hardest part is that you may have to go without your phone for 3 to 5 days while in repair if you mail your iPhone to an Apple store.
If the damage goes beyond the screen, you can replace your product for the same price of the repair. It’s sufficient to say that replacing your phone without Apple Care+ would be costly, but a simple screen repair is costly with the Apple Care+ plan (including the fee for the Apple Care+).
Here is the best possible way to determine whether or not you require the services of Apple Care+.
If you feel that you are a reckless user and have a history of more than broken screens, Apple Care+ is for you. However, if you are cautious in disposition without a history of even a cracked screen, Apple Care + will just eat into your pocket. A word of caution here, it all boils down to the probability of you handling your mobile well enough, but anomalies do take place in real life.
Third-Party Repair
If you do not have an iPhone store nearby and your patience is wearing thin, a third-party repair store is probably the right option for you. They usually charge between $140 and $160 for iPhone 6 and 6s screen replacements, respectively. It seems weird that a third-party repair is more costly than Apple. The advantage they offer is distance and time - you can get your phone back within an hour, whereas with Apple it takes 3 to 5 business days via post.
Change Broken iPhone Screen Yourself
There are many reasons why one would want to opt for a DIY iPhone screen replacement.
- Taking matters into your own hands gives you a rush, despite the potential pitfalls.
- You are deft in technical DIYs and have complete faith in your ability.
There are some practical reasons as well
- Apple Care or Apple Care+ plans are not available in many countries. The only option they have is replacing the phone at a cost of$299.
- If the Apple store isn't nearby and you cannot afford to part with your phone for 3 to 5 days.
- The price of third-party repair is as much as Apple, or more in many cases.
- Finally, the cost of the DIY method is about $110 for the screen and equipment. The minimum you can save is $20.
In all the above cases, you can change your iPhone screen yourself.
A word of caution: Many videos online claim this process can be done in 5 to 10 minutes. However, even a professional would take about half an hour to finish the entire job, due to small and sophisticated parts. Do not be intimidated, it is not rocket science, it simply requires time and patience.
A word of advice: After you fix your screen, buy a good mobile case that can protect your phone from bumps and falls. Prevention is better than the cure, period.
Things you’ll need:
These parts and tools are available online for fairly low cost.


- New LCD panel
- Pentalobe screwdriver
- #00 Phillips screwdriver
- Generic screwdriver (comes with the set)
- Plastic pry tools and guitar pick
- Suction cup
- Tweezers
- Brush
- Rubber gloves
- Small bowls
Preparation
This step is essential and first-timers should especially pay heed to the advice.
- The rubber gloves are important given the sophisticated nature of the equipment. They’ll prevent small dirt particles from your hands from getting into the inner workings of your phone.
- Do this task in a closed, dry room with ample lighting. Low humidity is essential as moisture may get absorbed into the micro IC (integrated circuit) of your phone and may wreak havoc later.
- Put labels on the bowls and name them according to the steps mentioned in the tutorial. The reason for this will become clear as you move forward with the process.
Removing the LCD Panel
Step 1. Remove pentalobe screws


Turn off the phone by holding the power button on the side until the power off slider appears. Slide it to the right to power off the device.


Use the pentalobe screwdriver to remove the 2 pentalobe screws at the bottom of your phone. They are located on each side of your Lightning connector.

Place the screws in the bowl labelled step 1.
Step 2. Open the screen

Place the suction cup on the screen, just above the home button. Press it on the screen so it tightly holds it.
If the screen has sustained heavy damage, the suction cup may not work. Putting transparent packaging tape on the screen and then using the suction cup does the trick here.

Pull it up firmly using the ring and use plastic prying tools to open it slowly from below the home button.


When you order the kit online, it comes with a guitar pick. Place it between the screen and the body of the phone while you gently pry open the screen from the sides.

Do not try to open it from the top.
Step 3. Remove the front panel assembly

After you detach the LCD panel from three sides, open it using the top side or the side opposite to the home button as a hinge.

Hold the LCD panel perpendicular to the rest of the device.


You will find a metallic plate securing the front panel assembly, containing 5 Phillips screws. Unscrew the metallic cover and place the screws in the bowl labelled step 3.


Remove the metallic cover and place it in the bowl labelled step 3.
You will see 4 flex cables beneath the metal cover. Gently pry open each cable connector using a plastic pry tool. Excessive force might harm the sockets or dismantle the sockets from the logic board.


Pry open the front camera and sensor flex cable.

Disconnect the home button flex cable using the flat end of the pry tool.


Gently disconnect the display flex cable. Be cautious about its socket.

Remove the digitizer flex cable.

Now your LCD panel will come off. Clean the connectors for the front panel assembly with the brush.